Build a Boss Best Builds & Archetypes
Three proven boss plans—and how to evolve them through all 10 zones.
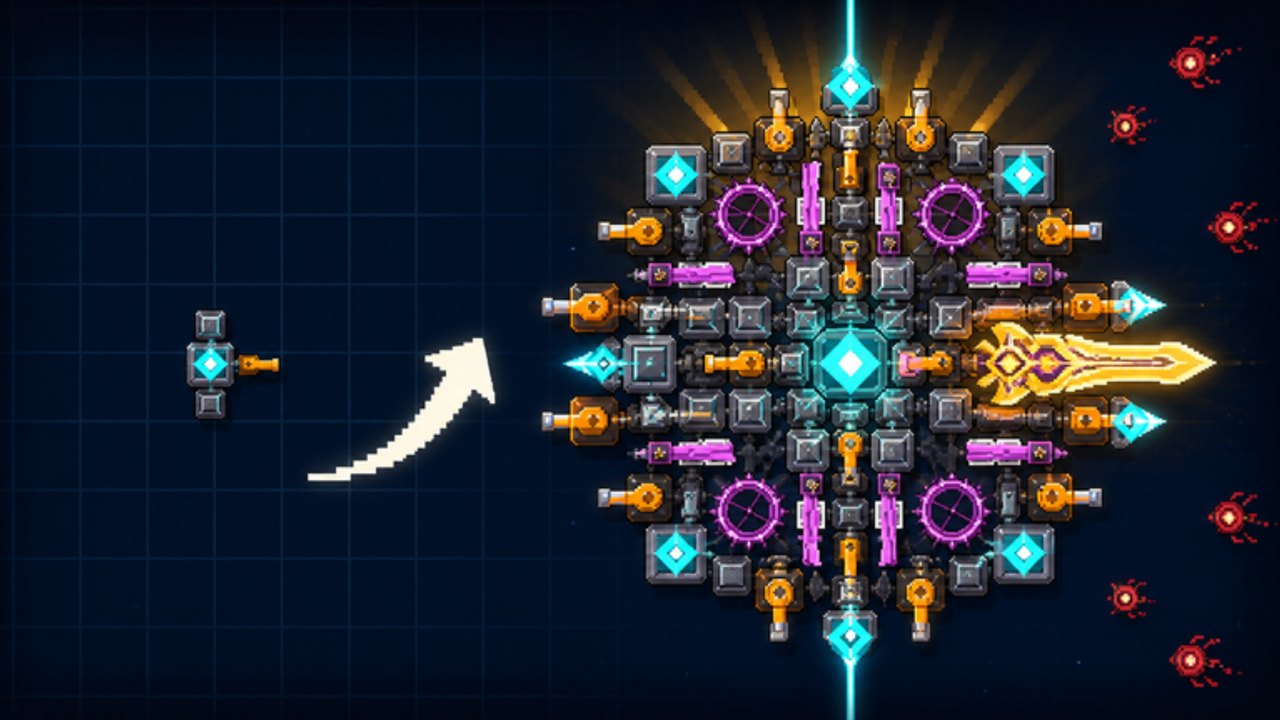
Looking for the best builds in [ENDLESS] Build a Boss? Start with archetypes, not screenshots. taapr studios’ combat is built from guns, lasers, and armor parts across 75 levels and 10 named zones (Scrapyard → First Light), with optional late Endless exams. The three loadouts below—Glass Cannon, Balanced Fortress, and Laser Piercer—cover most failure modes players hit. They are role recipes you assemble from whatever the shop offers. Meta shifts with patches; rebuild when tooltips move. More slots help only after identity is clear (Skills & Slots).
Prereading: Parts Tier, How to Build a Boss, Tier List Hub, Zones. Apply with the Build Checklist.
Shared build rules
- One archetype at a time—no kitchen-sink mush.
- Name the next zone wall before shopping (Zones).
- Fund with intentional farms (Cash & Gems).
- Place armor on hit faces; keep gun/laser lanes clear (Controls).
- Retire the archetype when its weakness becomes the campaign’s main test.
Archetype 1 — Glass Cannon
Thesis: Kill so fast that armor barely matters.
Core roles
- Multiple gun roles (Starter Gun → upgraded guns)
- Minimal Plate Armor (only what keeps you from insta-dying)
- Lasers optional; add only if pierce raises kill speed
Best for
- Early/mid farming on known levels
- Skilled players chasing speed for 3 stars
- Stages that punish slow clears more than chip damage
Weak against
- Spike one-shots
- Long chip fights where mistakes accumulate
- Late zones that demand real HP buffers
Early / mid / late notes
- Early: Excellent teacher of DPS value—just keep a tiny shell.
- Mid: Great printer if you can pilot (Controls).
- Late: Often convert into Fortress or Piercer unless you are very sharp.
Upgrade path
- First meaningful gun upgrade
- Second gun lane
- Micro armor only after a spike death
- Optional laser if density slows guns
Star outlook: High ceiling, high variance.
Archetype 2 — Balanced Fortress
Thesis: Enough guns to finish, enough plates to stay calm.
Core roles
- Solid gun DPS core
- Multiple Plate Armor pieces on true hit faces
- Small laser flex slot for problem stages
Best for
- Default progression through mid zones
- Consistent three-star attempts
- Players who hate coin-flip deaths
Weak against
- Extreme density where pierce should lead (swap toward Piercer)
- Pure speed contests where Glass Cannon prints more cash/hour
Early / mid / late notes
- Early: Natural evolution from the starter hybrid in Getting Started.
- Mid: Sweet spot—fund with farms, deepen both axes evenly.
- Late: Still the safest “complete the campaign” chassis; retune ratios after patches.
Upgrade path
- Gun until clears are not sluggish
- Armor until deaths stop
- Alternate gun/armor buys based on last fail
- Add laser when backliners survive
Star outlook: Best consistency for most players.
Archetype 3 — Laser Piercer
Thesis: Beams and bursts delete layered packs while armor buys channel time.
Core roles
- Burst Laser / Beam Laser roles as primary damage
- Enough Plate Armor to survive while beams work
- Guns as secondary, not the identity
Best for
- Dense mid/late stages
- Star attempts where chip from backliners ruins ratings
- Walls that feel “I kill the front and still die”
Weak against
- Wide open sparse fights where guns outscale
- Bad placement (beams into your own armor or empty space)
Early / mid / late notes
- Early: Optional—learn lasers on one dense stage.
- Mid: Often the breakthrough archetype.
- Late: Frequently mandatory on specific zones; still verify per level.
Upgrade path
- First real laser role + lane alignment practice
- Armor to protect channel/beam windows
- Second laser or supporting gun
- Gem breakpoint only if a laser tier clearly changes pierce behavior
Star outlook: Excellent on density maps; average elsewhere.
Choosing an archetype (decision tree)
- Are you dying to spikes with okay kill speed? → Fortress (more plates) or leave Glass Cannon.
- Are you living but starving stars/time? → Glass Cannon lean (more guns) or Fortress with gun bias.
- Do front enemies die while backline lives? → Laser Piercer.
- Unsure? → Balanced Fortress until data says otherwise.
Re-run the tree after every zone band change.
Hybrid myths
“Just buy one of everything” is not a fourth archetype—it is clutter. A Fortress may carry a flex laser; a Piercer may carry a helper gun. The identity must remain obvious when you glance at the boss. If you cannot name the identity, scrap and rebuild (How to Build).
Session plan to lock a build
- Pick archetype with the tree.
- Farm 15 minutes (farming guide).
- Buy only identity parts.
- Smoke-test on a known level.
- Push the wall twice.
- Adjust with Parts Tier rubric—one axis at a time.
- Attempt stars only after clears stabilize (Three Stars).
Multiplayer & sharing
In max 10-player servers, share archetype names and fail modes (“need pierce”) rather than dumping spoiler star thresholds. Etiquette: Players Hub. Copying someone’s silhouette is fine if they agree; rebuilding teaches more.
Related pages
The best build is the one that solves your next named-zone wall at your budget. Master these three archetypes and you can remix them forever as taapr studios patches the shop—without waiting for a viral “secret loadout” video.
Frequently Asked Questions
Quick answers for Build a Boss players.
What is the best build overall?
Balanced Fortress is the best default for most players. Switch to Glass Cannon for speed farms or Laser Piercer for dense pack walls.
Can I mix all three archetypes?
Keep one identity. A flex part is fine; equal guns, lasers, and armor with no plan usually underperforms.
When should I drop Glass Cannon?
When spike deaths erase your speed advantage—especially in late zones or on strict star attempts.
Do these builds use real item names?
They use role categories (guns, lasers, Plate Armor). Assemble them from current shop parts and re-check after patches.