Build a Boss Zones & Levels Walkthrough
Clear Scrapyard through First Light—ten named zones, badge bosses, and honest farm brackets before Endless.
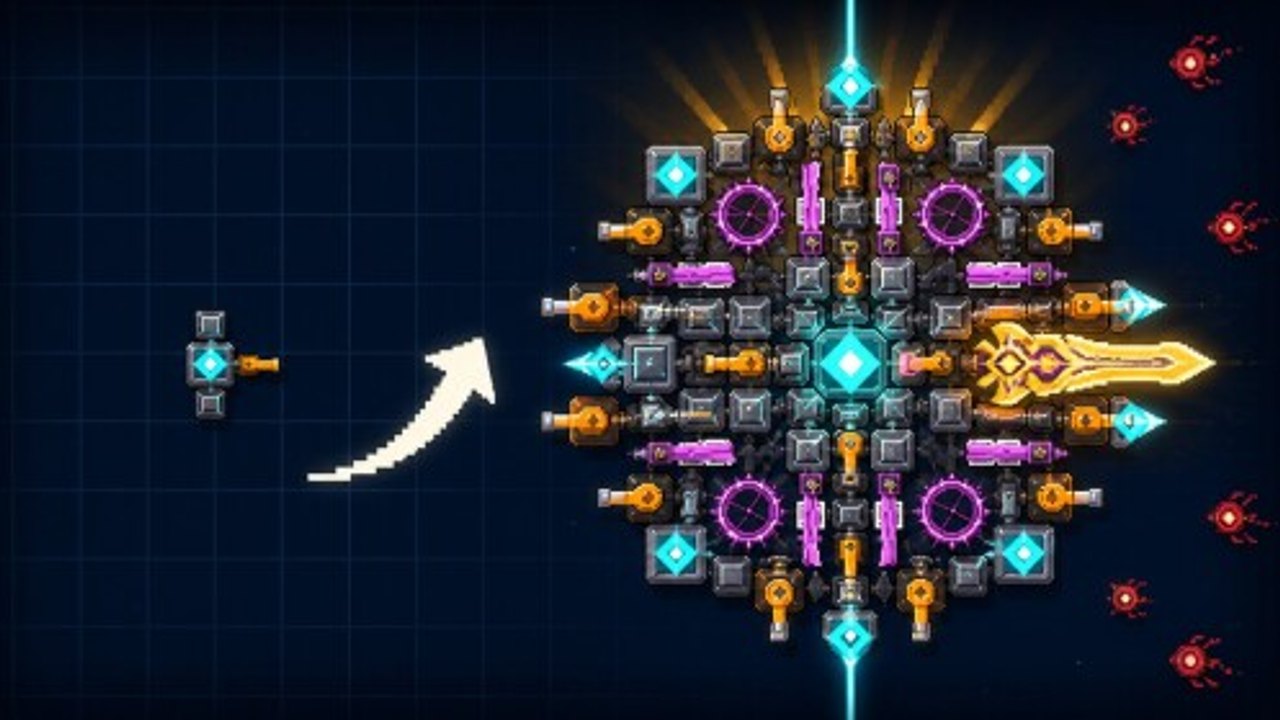
[ENDLESS] Build a Boss ships 75 levels across 10 named zones, each tied to a progression badge. You will not finish with one static starter kit. This walkthrough maps Scrapyard → First Light, when to farm, when to push, and how zones feed Endless mode, AFK & dailies, and skills & slots. Pair with Getting Started, Cash & Gems Farming, and How to Build a Boss.
Enemy micro-patterns can change with patches—verify in-game. Zone names and badge order below come from verified badge progression research.
Named zones (badge order)
| # | Zone | Badge / boss signal | Band |
|---|---|---|---|
| 1 | Scrapyard | SCRAP KING | Early |
| 2 | Frostlands | FROST WARDEN | Early |
| 3 | Hive | HIVE MOTHER | Early |
| 4 | Magma Pit | MAGMA TYRANT | Mid |
| 5 | Geode | GEODE HEART | Mid |
| 6 | Void Gate | VOID GATE | Mid |
| 7 | Drowned Works | DROWNED WORKS | Mid |
| 8 | Bone March | BONE MARCH | Late |
| 9 | Green Rot | GREEN ROT | Late |
| 10 | First Light | FIRST LIGHT | Late |
On average think ~7–8 levels per zone (distribution may vary). Servers hold up to 10 players, but your boss either meets the zone or it does not.
Early band — Scrapyard, Frostlands, Hive
Goals
- Complete the cash → buy → fight loop without panic.
- Own a Starter Gun role, enough Plate Armor to finish, optional Burst Laser.
- Three-star a few easy stages to learn ratings (Three Stars).
- Claim Daily Claimer so soft income starts early.
Zone notes
- Scrapyard (SCRAP KING): Tutorial pressure. Rebuild freely; do not gem-panic.
- Frostlands (FROST WARDEN): First real density/spike lessons—add pierce or plates on purpose.
- Hive (HIVE MOTHER): Early-band finale. If Hive feels unfair, farm late Scrapyard / early Frostlands instead of forcing.
Farm bracket: Last comfortable stage one step behind your wall.
Exit criteria: You clear Hive without coin-flip deaths and understand rebuilds (Controls if piloting is clumsy).
Mid band — Magma Pit, Geode, Void Gate, Drowned Works
Goals
- Lock an archetype: Glass Cannon, Balanced Fortress, or Laser Piercer (Best Builds).
- Establish a mid farm printer that prints cash reliably.
- Start serious star backlog cleanup for gem health.
- Buy skills/slots that match fail modes—not random Fully Wired spam (Skills & Slots).
Zone notes
- Magma Pit (MAGMA TYRANT): Specialization gate. Hybrids that “kind of do everything” fall behind.
- Geode (GEODE HEART): Shop temptations multiply—score parts with Parts Tier criteria.
- Void Gate (VOID GATE): Mid-campaign identity check; pierce and sustain both matter.
- Drowned Works (DROWNED WORKS): Mid-band finale. Fund with Geode/Void farms before stubborn pushes.
Wall protocol
- Fail a push level twice.
- Name the fail (DPS, armor, pierce, piloting).
- Farm 10–20 minutes (farming guide).
- One upgrade, skill, or full rebuild.
- Retry.
Skipping the farm step is how mid-game wallets die.
Exit criteria: Coherent silhouette, a farm printer, and a plan for starring messy mid clears.
Late band — Bone March, Green Rot, First Light
Goals
- Survive spike patterns with real armor investment.
- Keep DPS high enough for stars and clear speed.
- Re-evaluate guns vs lasers after each patch (Patch Notes).
- Prep an Endless-capable boss only after First Light is in reach or cleared (Endless Mode).
Zone notes
- Bone March (BONE MARCH): Late pressure starts; nostalgia starter kits fail here.
- Green Rot (GREEN ROT): Expect nasty sustain/density checks—Piercer or Fortress flexes shine.
- First Light (FIRST LIGHT): Campaign finish line badge. Three-starring the whole board is a prestige project; schedule it zone by zone.
Farm bracket: Keep one mid-late safe level (often Drowned Works / early Bone March comfort clears) as your ATM. Treat harder late stages as exams until they become printers.
Completion mindset: Finishing all 75 levels is a campaign. Endless leaderboards (Top 50→Top 1) are a separate exam after the named zones teach the shop.
Zone-by-zone pacing checklist
Copy into notes or the Progress Tracker:
For each named zone
- Cleared all levels at least once
- Badge / boss signal understood (SCRAP KING … FIRST LIGHT)
- Farm stage identified inside or just behind the zone
- Main fail mode noted (DPS / armor / pierce)
- Matching part, skill, or slot purchased on purpose
- Easy stages three-starred; hard stars parked
- Build Checklist run before the zone’s spike finale
When to push vs farm vs AFK
Push when you win practice clears with HP to spare and upgrades for the known fail mode are bought.
Farm when two push attempts failed for the same reason, cash cannot afford the part, or you are testing a new archetype.
AFK / dailies when real life needs the PC but you still want Overnight Farm / Daily Claimer progress (AFK & Dailies).
Rebuild when parts contradict, you enter a new band, or a patch lands.
Endless queue only after mid/late foundation—do not use Endless as a Scrapyard substitute.
Linking zones to other systems
| Situation | Open |
|---|---|
| Need a new chassis | How to Build a Boss |
| Need income | Cash & Gems Farming |
| Need ratings | How to Get 3 Stars |
| Need skills/slots budget | Skills & Slots |
| Need Robux pass advice | Game Passes |
| Need passive income | AFK & Dailies |
| Need late survival exam | Endless Mode |
| Need archetype pick | Best Builds |
Example campaign day (60–90 minutes)
- Claim dailies; collect AFK if overnight parked (5 min).
- Warm up on your farm level (10 min).
- Push the next uncleared named-zone stage until clear or two fails (20 min).
- If failed: shop/skill/rebuild once, farm (15 min), retry (10 min).
- Star one older 2-star level (15 min).
- Log zone name, badge target, and lagging role on the Progress Tracker.
Multiplayer pacing
Seeing another player in First Light while you are in Hive means nothing about account health—loadouts and playtime differ. Ask for role advice, not inflated flex numbers. Keep etiquette clean in 10-player servers (Players Hub).
Related hubs
- Guides Hub — full tutorial index including Endless, passes, skills, AFK
- Tier List Hub — what to buy as zones scale
- Tools Hub — checklists and named-zone tracker
- Codes Hub — still empty unless the hub changed; progress is earned
Treat the ten named zones as chapters. Each chapter raises required DPS, armor, or pierce. Meet the requirement on purpose, farm when short, AFK when away, and save Endless for after the campaign thesis is learned. That is how you earn SCRAP KING through FIRST LIGHT without soft-locking your wallet.
Frequently Asked Questions
Quick answers for Build a Boss players.
What are the 10 Build a Boss zone names?
In badge order: Scrapyard, Frostlands, Hive, Magma Pit, Geode, Void Gate, Drowned Works, Bone March, Green Rot, and First Light.
How many zones and levels are there?
10 named zones containing 75 levels total. Pace early (Scrapyard–Hive), mid (Magma–Drowned), and late (Bone–First Light) bands.
What should I do when I hit a zone wall?
Name the fail mode, farm a safer level, buy or rebuild for that role (or a matching skill/slot), then retry. Avoid gem panic spends.
Should I play Endless before First Light?
Not as a substitute for the campaign. Stabilize mid/late named zones first, then use Endless as a leaderboard exam.
Should I three-star every level before moving on?
Not required. Clear first, farm and specialize, then return for stars—especially in mid and late zones.